Any single device in Happy Room does some damage. The scores that clear the hard challenges come from combinations: one device moves the clone, another holds it still, a third does the damage. This guide explains the principles behind good layouts and walks through five combos that work across versions of the game. Exact item names and prices have changed over the years, so we describe devices by family rather than by shop slot.
The three jobs in every good room
Think of each device as doing one of three jobs.
- Movers change where the clone goes: explosives, launchers, recoil from heavy weapons and the pull of a black hole.
- Holders keep the clone in one place: sustained energy beams, a black hole, or a corner the body tends to wedge into.
- Hitters do the damage: blades, spikes, firearms and anything else that scores on contact.
A room made only of hitters relies on luck, because the clone touches each device once and moves on. A room with a mover feeding a holder, surrounded by hitters, turns one lucky contact into many guaranteed ones.
Combo 1: the blade funnel
Line both lower walls with blades or spikes angled slightly downwards, so they form a V that narrows towards the floor. Put a final hitter in the centre of the floor. Gravity does the moving: the clone drops, glances off one side, then the other, and ends up at the point of the V. It is a cheap layout, which makes it ideal early in the game, and it is very consistent because it uses the one force that never changes.
Combo 2: the launcher loop
Place an explosive on the floor under the drop point and hitters high on the walls. The clone lands, the blast throws it upwards into the wall devices, and it falls back towards the floor. If the explosive re-arms or you have more than one, the cycle repeats. The trick is the angle of the walls' hitters: aim them where the clone is moving slowly, at the top of its arc, so contact lasts longer.
Combo 3: crossfire lanes
Firearms do the most when the target crosses their line of fire slowly. Mount guns on opposite walls at the height where the clone usually bounces, and stagger them so their lines cross the room at different heights. Add a mover that keeps the body in that band. This layout is less consistent than the funnel because one bad bounce can carry the clone out of every lane, but on a good run it scores fast.
Combo 4: the black hole trap
The black hole is the most powerful holder in the game. Placed in the centre of the room, it pulls the clone, and any debris, towards one point. Ring that point with hitters and the body is dragged across them again and again. The weakness is cost and the risk of pulling the subject away from your other devices, so build the whole room around it rather than adding it to an existing layout.
Combo 5: the corner wedge
Ragdolls love corners. Their limbs catch on two surfaces at once and the body stops moving. Put your strongest hitters in one lower corner and a gentle mover on the opposite side that nudges the clone towards it. Energy weapons pointed into the corner make it even more reliable. It is a slow, steady layout that suits challenges asking for sustained damage.
Tuning a layout
- Run it three times before judging it. Physics varies, and one result tells you little.
- Watch the first contact. If the clone misses your mover, nothing downstream matters. Fix the start first.
- Change one variable. Move a single device or alter one angle, then re-run.
- Upgrade what is used most. Spend on the device that touches the clone on every run, not the flashiest one.
Expected value: think about combos like a blackjack player
Here is the idea that makes the difference on hard challenges. Every layout has an average score and a spread around that average. The crossfire lanes might average well but swing wildly; the blade funnel might average a little less but almost never fail. Which is better depends on the target. If a challenge needs a score just above what the funnel reliably gives, the steady layout wins. If it needs a huge number, only the swingy layout has a chance.
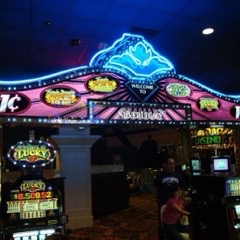
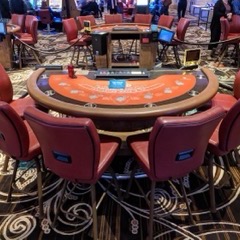
That is the same reasoning a careful blackjack player uses. Basic strategy picks the play with the best average outcome for every hand, while bet sizing is about managing the spread of results. Poker players talk about "variance" in exactly this sense, and casino maths uses "volatility" to describe slot machines that pay rarely but big versus those that pay small and often. A Happy Room layout is a little like choosing a slot by its volatility, except that here you design the machine yourself. If you want to know how the law tells a game of judgement from a game of luck, read our explainer on skill games versus games of chance.
Rule of thumb: for "reach X damage" challenges, use your most consistent room. For "highest score" goals, use the layout with the highest ceiling and accept that most runs will miss.
New to the game? Start with our complete Happy Room guide, then come back here when the early challenges get harder.